Marketing
Photos That Win Jobs: How Tradies Shoot Before and After Photos on a Phone

Short answer: the before and after photos that win jobs are taken from exactly the same spot, at the same angle, in decent light, with the site tidied up for the "after". You don't need a camera. Your phone and about 30 extra seconds per job is plenty. Here's how to do it, and where to use the photos once you have them.
Why before and afters work so well
A homeowner can't judge your workmanship from a list of services. They can judge it from a photo of a tired bathroom next to the one you finished. It's proof, it's specific, and it's yours: no competitor can copy it. On a website, a Google profile or Instagram, before and afters are the most persuasive thing most tradies can show.
Taking the "before"
1. Pick your spot and mark it
Choose the angle that will show off the change best, usually a corner or doorway that takes in the whole space. Stand there, and note where your feet are. A bit of masking tape on the floor, or lining up with a door frame or fence post, lets you come back to the exact spot.
2. Hold the phone level, at chest height
Turn on your camera's grid lines (in the camera settings on both iPhone and Android) and keep vertical lines like walls and door frames straight. Chest height looks natural for rooms. For decks, roofs and driveways, a slightly higher angle shows more.
3. Don't zoom, step closer
Digital zoom makes photos grainy. Walk closer instead. For tight rooms like bathrooms and laundries, the 0.5x wide lens on most modern phones fits the whole space in. Just remember which lens you used, so the "after" matches.
4. Take a few, including the ugly details
Grab the wide shot plus a couple of close-ups of the problem: the rotten board, the old switchboard, the cracked tile. Close-ups of what you fixed make the "after" far more convincing.
Taking the "after"
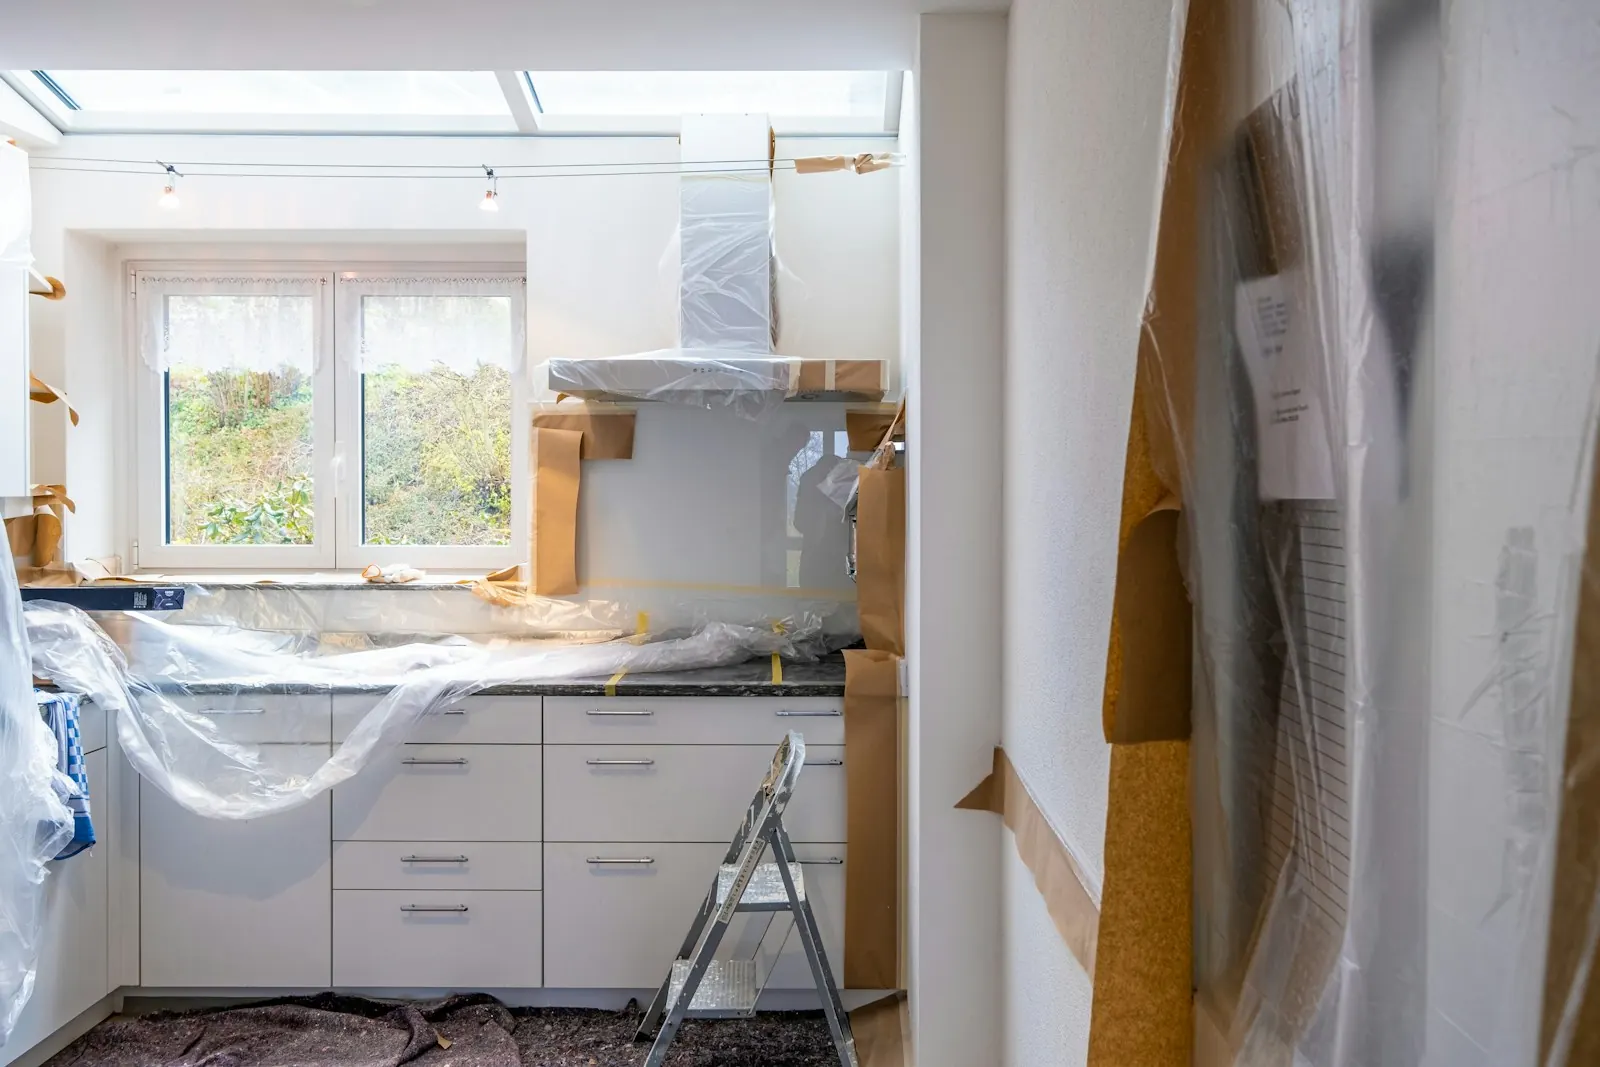
5. Tidy up first
Pack away the tools, sweep up, move the bins and the ladder out of shot. You want the customer's eye on your work, not the offcuts.
6. Go back to the same spot
Same place, same height, same lens, same orientation. Open the "before" photo on your phone and line up the shot against it. This is what makes a before and after look professional rather than like two random photos.
7. Get the light right
- Inside: turn every light on and open the curtains. Stand with the window behind you, not in front of you.
- Outside: an overcast day is your friend. Harsh midday sun makes deep shadows, and late afternoon light looks warm and inviting.
- Wipe the lens on your shirt first. A smudged lens is the most common reason phone photos look hazy, especially on a building site.
8. Try to match the conditions
If the "before" was taken on a grey morning and the "after" in golden afternoon light, it can look like you're dressing it up. Similar light makes the comparison honest, and honest is what builds trust.
Upload once, use everywhere
Ted sites have a 'Recent jobs' section with a before-and-after slider you fill from your phone, and you can turn any pair into a ready-to-post image for Instagram or Facebook.
Sizes for your website and socials
| Where | Best shape | Tip |
|---|---|---|
| Instagram and Facebook feed | Portrait, 4:5 | Takes up the most room on a phone screen |
| Stories and reels | Tall, 9:16 | Keep text away from the top and bottom edges |
| Website gallery or slider | Match your site's layout | Keep both photos the same shape |
| Google Business Profile | Landscape or square | Real jobs, added regularly |
Keep the main subject in the middle of the frame and you can crop one photo to any of these shapes later.
Privacy: ask first, and keep it anonymous
Always ask the customer before you post photos of their home. Most say yes. Keep people, house numbers, number plates, street signs, family photos and anything personal out of the shot, and never publish the customer's address. Say "a villa in Grey Lynn", not the street.
Where to use them
- Your website, in a recent jobs section, with a line about what the job was and the suburb.
- Your Google Business Profile. Adding real job photos regularly keeps your profile fresh. Our profile checklist covers the rest.
- Instagram and Facebook. A before and after with one line about the job is an easy post.
- Your quotes. Send a similar job's before and after with the quote. It shows the customer what they're paying for.
One myth to skip: geotagging your photos doesn't help your Google ranking. Google strips that data when you upload. Describing the job and suburb in words is what counts.
A 30-second routine for every job
- On arrival: wide shot and one or two close-ups of the problem.
- Mark your spot.
- On completion: tidy up, lights on, lens wiped, same spot, same shot.
- Ask the customer if you can share it.
- Upload the pair the same day, while you still remember the details.
Let your work do the selling
Ted builds your trade website with before and afters front and centre, and runs it for you. $0 to build, from $39.95 a month incl. GST.
Frequently asked questions
How do I take good before and after photos of a job?
Stand in exactly the same spot for both shots, hold the phone at the same height and angle, keep the zoom the same, and shoot in similar light. Mark your spot with a bit of tape or note a reference point. Clean up the work area before the 'after' so the result is the focus.
Should I take photos in portrait or landscape?
Take both if you can. Portrait (4:5) works best in Instagram and Facebook feeds, tall 9:16 suits stories and reels, and landscape suits a wide room or the outside of a house. Keeping the subject in the middle of the frame lets you crop to any size later.
Do I need permission to post photos of a customer's house?
Ask first. Most customers are happy to say yes. Avoid showing people, house numbers, number plates, street signs or anything personal inside the home, and don't share the customer's address. That protects their privacy and keeps you on the right side of the Privacy Act.
Does geotagging photos help my Google ranking?
No. Google and most social platforms strip location data from uploaded photos, so geotagging does nothing for your ranking. What helps is posting real job photos regularly to your Google Business Profile and website, and describing the job and suburb in words.
Where should tradies use before and after photos?
On your website's recent jobs or gallery section, your Google Business Profile, Instagram and Facebook, and in your quotes for similar work. The same pair can do all of those jobs.